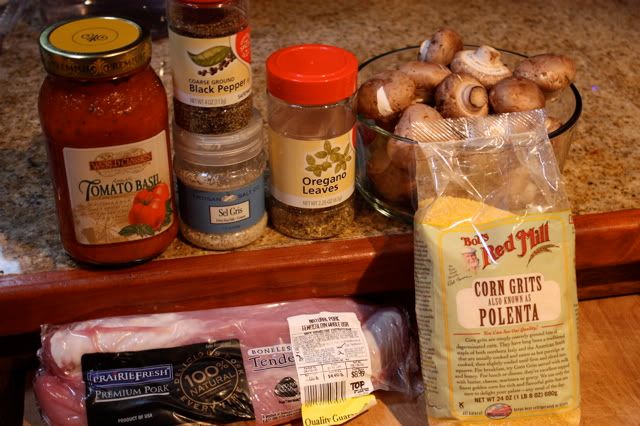
Tuesday, June 15, 2010

Pork Tenderloin with Polenta and Mushroom Tomato Sauce

At the store the other day I got a copy of the newest Clean Eating magazine. They have a great recipe in there for pork tenderloin that makes two meals.

Ingredients:
2 lbs. pork tenderloin
2 cups polenta
24 oz. jar natural tomato basil pasta sauce
1 lb. mushrooms
oregano
sea salt
pepper


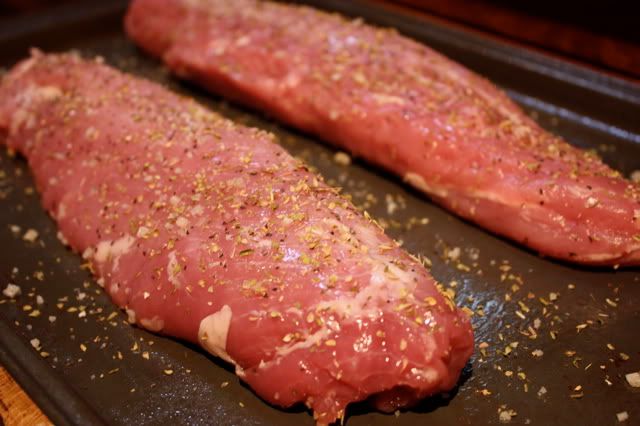
Preheat the oven to 450 degrees. Spray a jelly roll pan with nonstick cooking spray and place the pork tenderloins on it. Season them with oregano, sea salt, and pepper. Put the pan in the oven for 10 minutes.


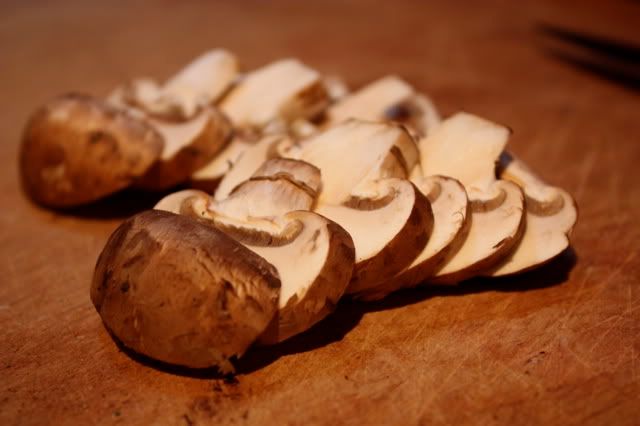
Meanwhile, slice the mushrooms.


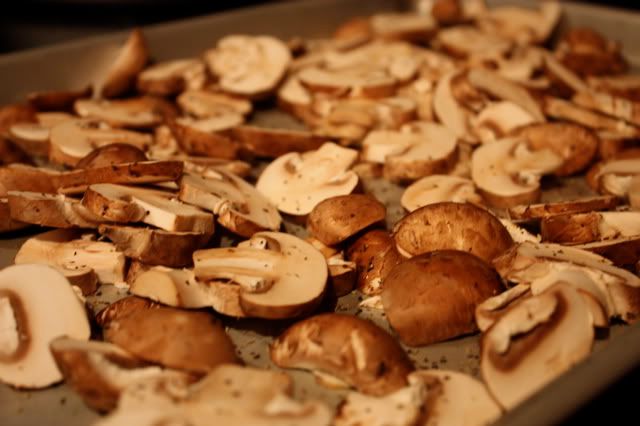
Spray another jelly roll pan with nonstick cooking spray. Spread the mushrooms on the pan and sprinkle with pepper. After the pork has cooked for 10 minutes put the mushrooms in the oven with the pork and roast both for about 20 minutes.


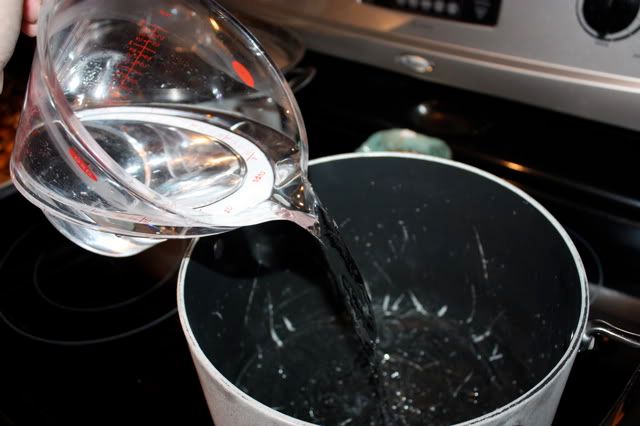
Pour 8 cups of water into a large pot and bring to a boil.


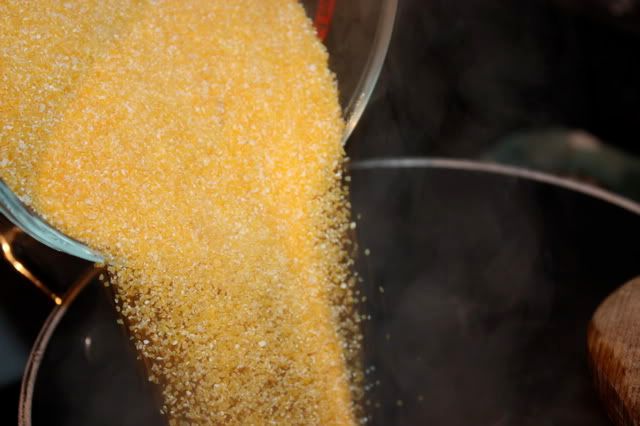
After the water is boiling, pour in the polenta slowly and stir.


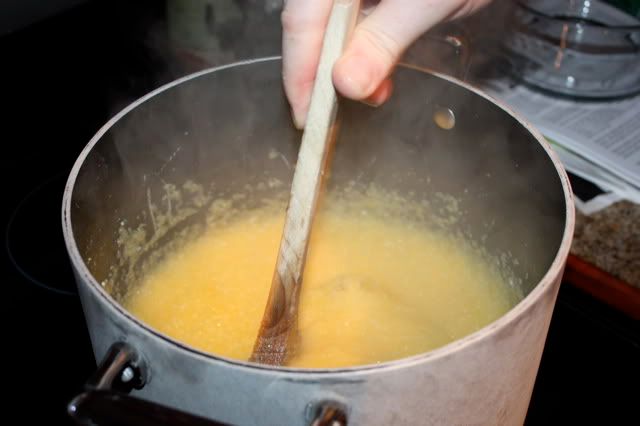
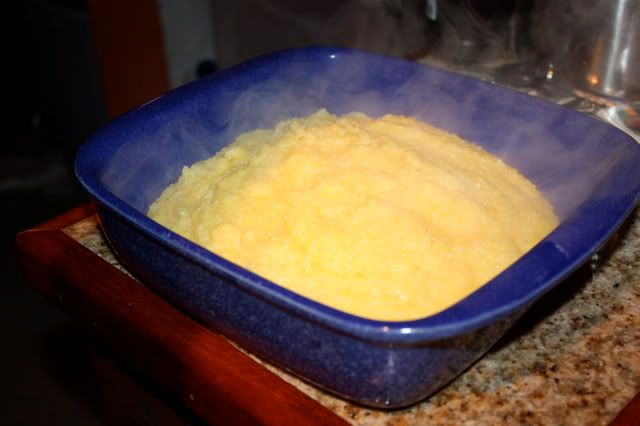
Stir the polenta with a long handled wooden spoon until it is cooked, about 10 minutes.


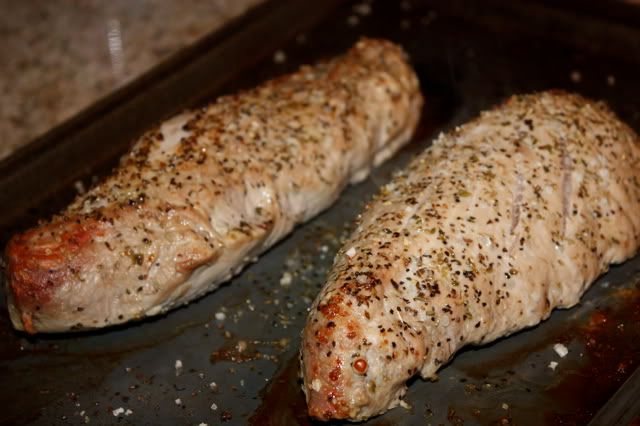
Get the pork out of the oven and let stand for 10 minutes or so.


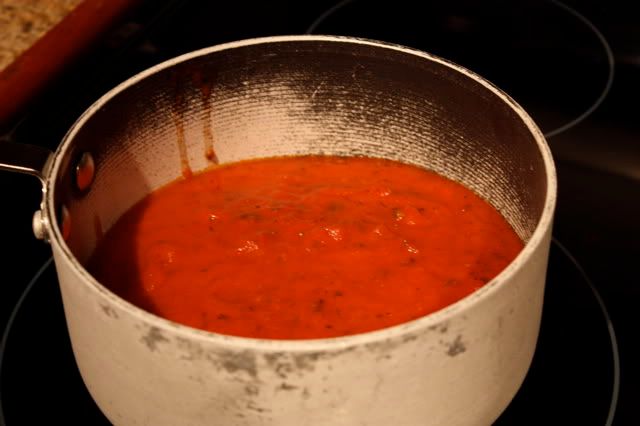
Heat the pasta sauce until it is warmed through, about 5 minutes.


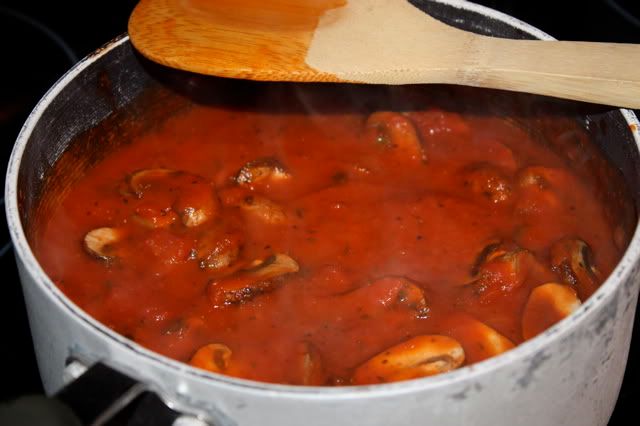
Add the mushrooms to the sauce and heat through, about 2 minutes.


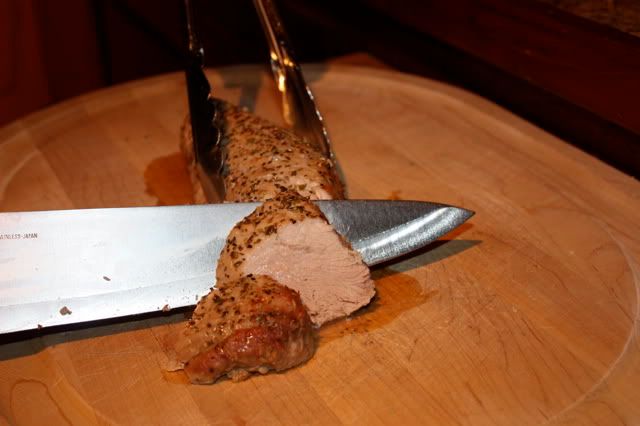
Slice the pork in order to serve. Only slice one tenderloin.


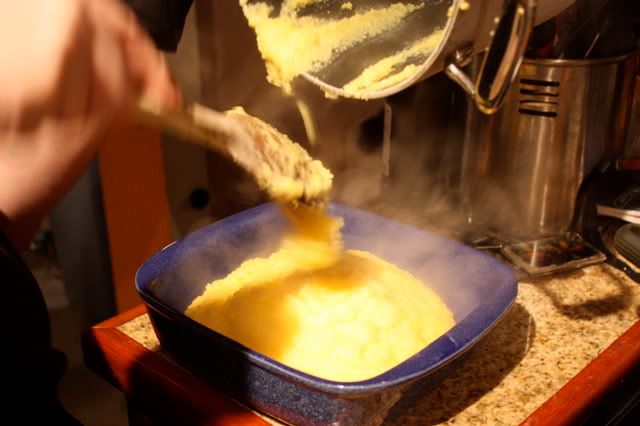
After serving polenta to everyone's plates pour it in an 8x8 pan for the next dinner.


I served about 1/2 cup of polenta, 1/2 cup or pasta sauce, and a quarter of one of the tenderloins on each plate. The leftovers will be used for a different meal in a few days.


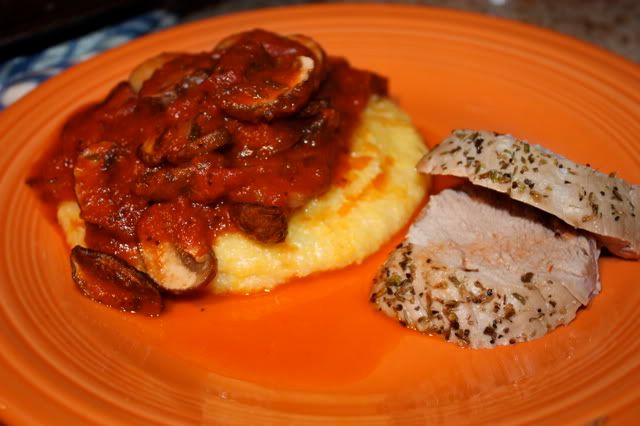
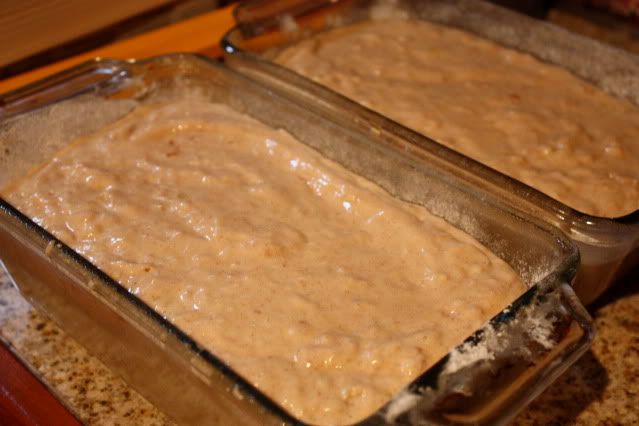
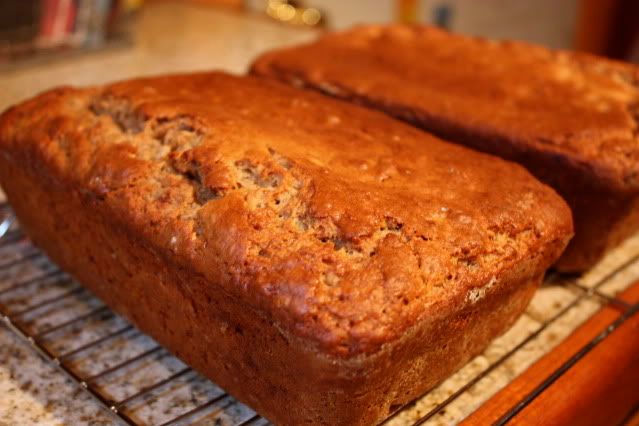
This was delicious comfort food. Everyone except the preschooler loved it, but she doesn't like anything. ;-) (Okay, she did love the banana bread in the previous post!)

Banana Bread

I can't believe it has been since April when I last posted. I am going to be more dedicated to this blog now and suddenly seem to have a lot more spare time. Economy, anyone?

Yesterday was my daughter's "Special Sharing Day" at preschool. What this means is she gets to bring a toy or two to share and talk about at school. It's sort of like show-and-tell only she gets to let other kids play with her special toys. It's optional, but she can also bring in a snack for all of the kids. Since we had four overripe bananas in the house I decided to get up early and make banana bread. I want to tinker with the recipe to see if I can make it ultra-healthy (it's already healthy) using wheat flour and agave nectar instead of sugar so we'll see. Next time I have bananas in need of mashing I'm going to play!

Here's the healthy recipe:

------------------

Healthy Banana Bread

Makes one loaf
Prep time: 10 minutes
Baking time: 1 hour

Ingredients:

* 2 eggs
* 2/3 cup white sugar
* 2 ripe bananas, mashed
* 1/2 cup nonfat plain yogurt
* 1/3 cup unsweetened vanilla almond milk (I like Almond Breeze)
* 1 tablespoon canola oil
* 1 tablespoon vanilla extract
* 1 3/4 cups all-purpose flour
* 2 teaspoons baking powder
* 1/2 teaspoon baking soda
* 1/2 teaspoon salt
* 1 teaspoon cinnamon

Directions:
Preheat the oven to 325 degrees. Spray a loaf pan with nonstick cooking spray and lightly flour the pan.

In a large bowl, beat the eggs and the sugar on medium together for 5 minutes. At the end you should have a custard consistency. Turn the beater to low and beat the bananas, yogurt, almond milk, canola oil, and vanilla extract until all liquid ingredients are incorporated.

In a medium bowl, sift together the flour, baking powder, baking soda, salt, and cinnamon. Fold into the liquid ingredients with a spatula until just moistened. Do not overly mix.

Pour the batter into the prepared loaf pan and put in the oven for about 1 hour. Check after 50 minutes by inserting a toothpick in the middle of the loaf. If it comes out clean the bread is done. Cool in pan on a rack for 15 minutes. Then remove from pan and continue to cool the loaf on the rack for another 30 minutes if you can resist the pull of warm banana bread.

------------------

I was only able to take two photos since I was in a hurry to get it done and get my daughter to school. First is a photo of the batter in loaf pans ready to go into the oven and second is a photo of the delicious bread. I made two loaves but please note the recipe above is only for one loaf.


Unfortunately I did not get to taste this. However, every single person who I saw at the daycare yesterday evening told me how delicious it was. One of the women who works at the daycare said there was a little left and wanted to have it for breakfast this morning! My daughter said, "I LOVED it!!"